After lucking out and not loosing any of my data saved to my nextcloud after the OVH fire1 🔥 in Strasbourg. I did however loose the VPS that hosted the website for www.evansmedia.fr
The shoemaker always wears the worst shoes, right?
I may have become a bit paranoid about backups, especially for anything stored in my Nextcloud which holds just about anything to do with my personal life, including photos of our recent newborn.
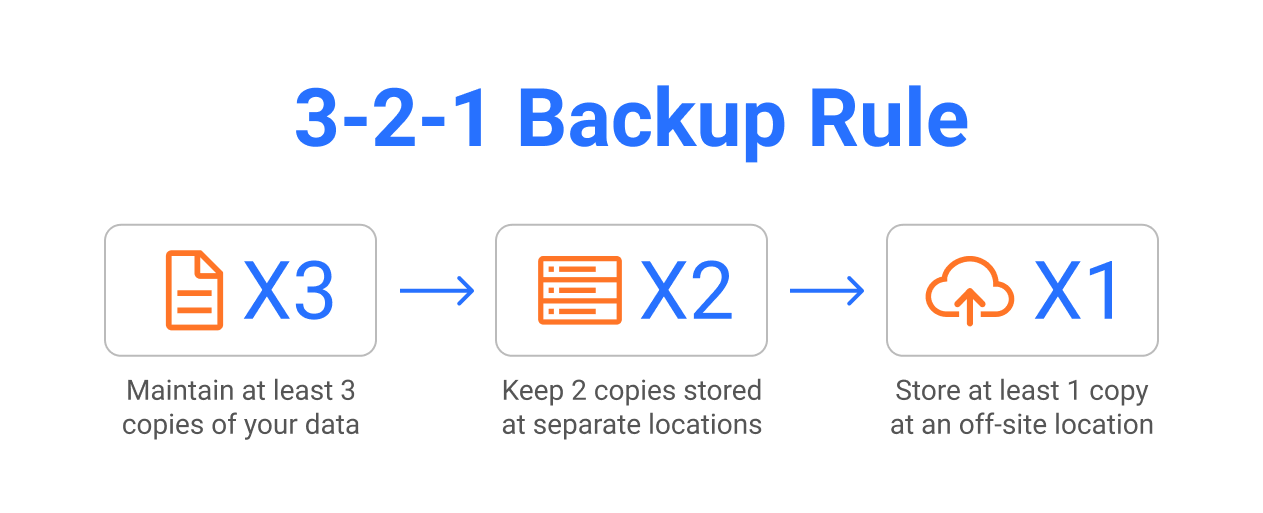
The 3-2-1 Rule
I decided to base my backup strategy on the 3-2-1 rule (and you should too)
The idea that a minimal backup solution should include three copies of the data, including two copies on different media and one remote (offsite) copy.
Local Backups
(We are pretending that we are backing up a local server here but the Virtual Machine I’m backing up is actually hosted in a DC so I’m backing it up locally at home)
To perform my backups I am using two tools, Proxmox Backup Server2 which is a backup appliance built by the folks that build proxmox; and Restic, a modern app that backups files to loads of different services. Today we will be focusing on a single backup tier with Restic.
Restic
restic is a backup program that is fast, efficient and secure. It supports the three major operating systems (Linux, macOS, Windows) and a few smaller ones (FreeBSD, OpenBSD).
https://restic.net/
Why Restic
it is simple and fast to use
it enables backup many different storage locations including self-hosted and online services (Amazon S3, Google Drive, Backblaze etc.)
it’s backups can be fully encrypted
restores are simple and you can even mount the backup repository and retrieve a single file.
Install Restic
First and formost we need to install restic, this is a simple as running as using APT on Ubuntu/Debian (in my use case)
sudo apt install restic
Init the storage repo
The beauty of restic is that you can use just about any type of storage backend (local, Amazon S3, Minio Server, Backblaze B2, Azure, Google Cloud Storage, SFTP, etc.) for your backup repo and the interface stays for the most part the same. In this case i’m using their own storage backend Rest-Server
Rest-Server
Rest Server is a high performance HTTP server that implements restic’s REST backend API. It provides secure and efficient way to backup data remotely, using restic backup client via the rest: URL.
So now you have chosen the storage backend for your repo, we need to initialise it.
Let’s say that we want to name our repository backups and we can use the following command to initialise it.
Restic will ask you to create a password (keep this safe we will need this later) and will initialise the repo. We can use check to verify that the repository is initialised.
restic -r rest:http://my-rest-server:8000/backups check
enter password for repository:
password is correct
create exclusive lock for repository
load indexesY
check all packs
check snapshots, trees and blobs
no errors were found
Backing up all the things
Now we have an initialised repository we can start backing up our cat pictures. With the backup and pointing to the repository we created. So to backup my ~/cat-pictures folder I would run this command
Everytime a backup is run, restic creates a snapshot, you can list these using the snapshot command.
restic -r rest:http://my-rest-server:8000/snapshots
enter password for repository:
password is correct
ID        Date                 Host        Tags        Directory
----------------------------------------------------------------------
ac8721ec  2023-03-26 20:18:16  my-pc              /home/bounty/cat-pictures
----------------------------------------------------------------------
1 snapshots
Restoring the cat pictures
What is a backup if you have not tested a restore? Well it’s not a backup because you don’t know it it worked.
So let’s try restoring our cat pictures with the restore command. We need to specify the snapshot id ac8721ec and where we want to restore to ~/restored-cat-pictures
You can use latest in place of the snapshot id to reference the last snapshot.
Thats as simple as the backup, right?
Other Commands and Documentation
Restic has loads of other useful commands that you can find in their great documentation
Automating with a Bash script and Cron
Manual backups are ok but you might forget to run them, so lets automate our backup with a bash script and a cron entry. And for bonus points lets make sure we have a way to send us message in case of failure. My basic script is below, each action is explained in the comments.
Note: my script is by no means perfect and may contain errors, feel free to correct it or suggest improvments below
#!/bin/bash
#This will run Restic backups# Restic variablesexportRESTIC_REPOSITORY=rest:http://my-rest-server:8000/backups
exportRESTIC_PASSWORD=super-secret-repo-password1234
RESTIC_Folder="~/cat-pictures"# We define a log location hereLog_location=/var/log/restic-nas.log
# Telegram Variables (if not used you need to remove the telegram block)TELEGRAM_token=TELEGRAM_chatid=#Define a timestamp functiontimestamp(){date "+%b %d %Y %T %Z"}# Insert timestamp abd header into logprintf"\n\n"echo"-------------------------------------------------------------------------------"| tee -a $Log_locationecho"$(timestamp): restic.sh - Rest Backup started"| tee -a $Log_location# Run BackupsNAS_backup_log=$(restic backup $RESTIC_Folder)echo"$NAS_backup_log"| tee -a $Log_location## This is a dirty way to check that the backup was a sucess and added files to the repo otherwise we fail.if[["$NAS_backup_log"== *"Added to the repo"** ]];then## If backup was successul lets move on and write the result to the logprintf"\n\n"echo"-------------------------------------------------------------------------------"| tee -a $Log_locationecho"$(timestamp): restic.sh - COMPLETED - Rest Backup"| tee -a $Log_locationelse## If the backup fails, we write to the log and send a message on Telegramprintf"\n\n"echo"-------------------------------------------------------------------------------"| tee -a $Log_locationecho"$(timestamp): restic.sh - FAILED - Rest Backup"| tee -a $Log_location## If failed send message to telegram curl -X POST https://api.telegram.org/$TELEGRAM_token/sendMessage \
--data parse_mode=HTML --data chat_id="$TELEGRAM_chatid"\
--data text="<b>$(timestamp)%0A FAILED - REST Backup</b>%0A%0A<pre>$NAS_backup_log</pre>" -4
exit1fi
Once we have saved our bash script to say ~/restic_script.sh we need to allow its execution with chmod and add it to our crontab
chmod +x ~/restic_script.sh # allow execution of our script
crontab -e # edit our crontab
# Edit this file to introduce tasks to be run by cron.[...]# To define the time you can provide concrete values for# minute (m), hour (h), day of month (dom), month (mon),# and day of week (dow) or use '*' in these fields (for 'any').[...]# m h dom mon dow command01 * * * ~/restic_script.sh # will run our script every night a 1 AM
With that you now have automated the your backups.
I’m sure you my have a better way of doing this, why not share your thoughts in the comments?
10 March 2021 - Millions of websites offline after fire at French cloud services firm - Reuters↩︎
Proxmox Backup Server is an enterprise backup solution, for backing up and restoring VMs, containers, and physical hosts. ↩︎